Friday, March 25, 2016

Cross Stitch Design 101 - Lesson 2

Welcome back to class...I'm so glad you are joining us!

This is Lesson 2, so if you're a week behind on your "assigned reading", scroll back to Lesson 1, so this makes sense.

*So now you've got an idea, and done a pencil sketch. You have a cross stitch design program on your computer, or you can go retro and use a pencil and graph paper. Now you're ready to start graphing and "draw" with your mouse.

Note: I've had a lot of comments requesting suggestions for good cross stitch software. Sadly, I don't know about this. I just use my 20 year old program and don't shop. Sorry!


* Consider "scale" when you are graphing. This sounds obvious but it's something I had to learn when I was a beginner. You can make Santa's face 9 stitches across, or the jolly old elf's face can be 35 stitches across. Whichever you choose, you're going to end up with very different sizes of finished stitcheries. That's what I mean by "scale". Consider the "big picture" and make sure your design isn't too large or too small.

See pics (above) for large scale Santa and (below) smaller scale Santa.


For L*K, I try to keep my designs in a scale that is appropriate to whatever format I will be marketing. A Snippet can't be too large, or it won't fit on the Snippet leaflet. None of my designs are huge, but they have to be able to fit in my publishing format. I don't do super large, multi-page designs...except for those Mystery Samplers...which unfold over several top-secret leaflets. ***And, oh yea, there's another mystery coming your way soon, but that's another blog post!

*One handy tip I use...I put some "border markers" on my screen as I begin a design. I may already know I want a square design. so I put some little markers (filled in squares) to designate a square shape - maybe 60 wide by 60 high. Then I try to keep my design within this area. If the design grows larger, or shrinks, I can relocate those markers, while maintaining my desired square shape. Check out my border markers below.


Occasionally I'm trying to make a design fit a desired finish size. Maybe it needs to fit a pre-finished pillow or standard frame size. I calculate the size the design needs to be (using the stitch count of the fabric I will be using) to determine where my border markers should be. Technical, huh? That's why I keep my old-fashioned L*K calculator on my desk.

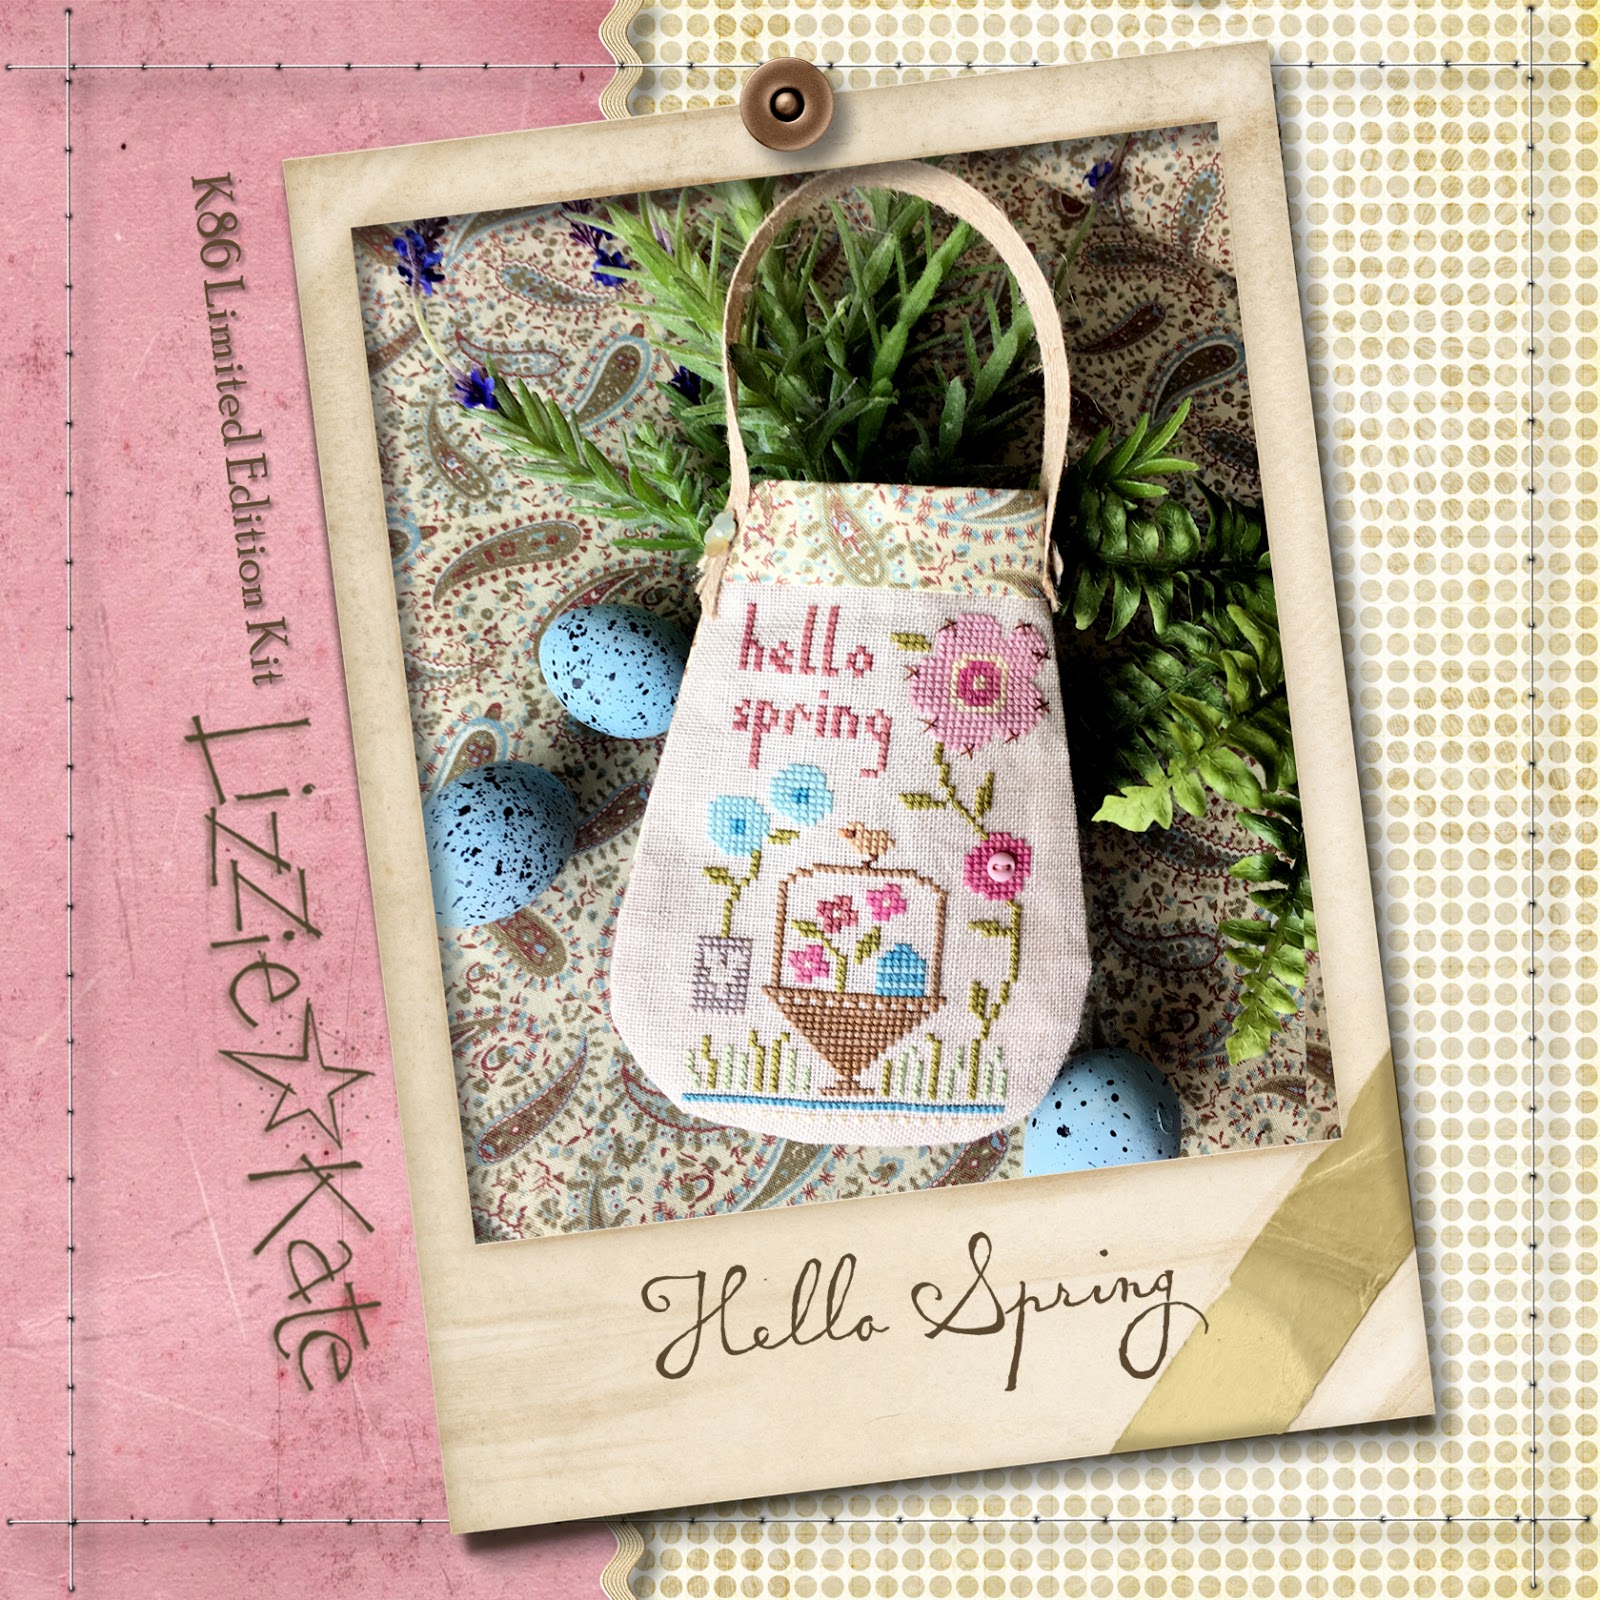
When I began L*K I stitched some rather large designs on 10 ct. fabric and ended up with some plus-size models. Now I choose smaller count fabric which results in more manageable-sized models. My models hit the road in trunk shows and generally stay on-the-go, so smaller is more convenient.

* Practice, practice, practice! You knew it was going to come down to this age-old adage. But that's what I've discovered over the years. The first try I make at a Santa usually looks ridiculous, but I just keep clicking here, removing stitches there, add more, subtract more, scrap it and begin again...whatever it takes until I'm satisfied with the motif.

Sometimes I graph a really cool motif...maybe a bunch of holly...but once I'm done graphing it, it doesn't really fit with the overall design. But I still like that little holly motif! So I put a little box around that holly with my mouse and move it outside the design area. Then it's sitting there, ready to go if I change my mind and add it to my design. If not, I may decide to save it into another file for future use.


Here's an upcoming Snippet I've been working on. Top 2 designs were my original efforts. See the "leftovers" at bottom right. There were actually tons more, but I already deleted them before this blog post. Then I scrapped the whole wide thing and redid this scripture into a neat little square design. It's stitched and framed and being photographed today...coming soon.

By the time I finish a typical design, I've got more stuff "outside the box" than inside the design area. There are borders, motifs, lettering, all sorts of tried but abandoned stuff that didn't make the final cut. I usually leave the leftovers sitting there until I'm totally satisfied with the design, as in...I've stitched the model.

* Repetition is good! Here's my final tip for the day. I have discovered that repetition is my friend. Design wise, it looks nice to have some repeating elements. I apply this rule to color, and try to always use a color several times in a design. I aim to "spread the color around". If I'm using a pretty orange in a Halloween design, then I make sure that orange shows up scattered around the design, not all in one little bunch.


The same goes with motifs. If you look at my L*K designs...especially my series...you will find little motifs that repeat themselves throughout the designs. Once you've graphed it, you can copy and paste little repeating motifs here and there. You may want to vary the color, the placement, the number of those motifs, but I think it makes the eye happy to see repetition. It makes the design flow! And it's a handy tool for filling those hard to fill little gaps in a design.

Can you find some repeating motifs and colors in the partial pic of 3 Little Words above? I spy with my little eye:
birds (3)
lacy white border (2)
wavy light green border (2)
quilt blocks (2) notice that these first appear vertically, then reoccur grouped horizontally.

If you view the entire series, you can spot even more repetition as the series unfolds. Repetition creates a nice rhythm.


Assigned Homework:
Just kidding! I've always wanted to say that, but I'm not a teacher.  I'm channeling my daughter...the talented high school art teacher, Mrs.Wain. We chatted a couple times yesterday - before and after her all day field trip taking 50+ high schoolers to the Chicago Art Institute. I never knew teachers were nervous before a field trip, but it turns out they are!  She always asks for prayers that she and all of her students return to the building. Even though the weather was bad, she had a great day with her AP Art History students. Above is Sarah "Lizzie" and her Dad in her vintage classroom at Lane Tech (Chicago Public School).

Questions?  Comments? Extra credit requests?

Class dismissed...have a great weekend!


Monday, March 21, 2016

Cross Stitch Design 101 - Lesson 1

I promised some tips on the design process as part of my 20th Anniversary celebration. Not interested in designing? I hope you'll find the process interesting, and maybe you'll look at cross stitch designs with a different perspective when you've been "behind the scenes".

LESSON ONE
This class is just for FUN! No pop tests, no finals, no attendance-taking, not even any class projects, unless you're one of those over-achiever students (like I was in school) who wants to do some designing for extra credit. After 20 years, I just want to share a bit about my work with all of you. Grab a cup of coffee or tea and read on!

* I begin with an idea....duh. I may want to focus on a certain season, or maybe I have a phrase that speaks to me. If I'm looking for a new phrase, I usually Google something like "Halloween sayings" or "inspiration" and a zillion ideas pop up. Or an idea can begin with a motif I want to explore...maybe an elf, mermaid, or American flag. Another idea starter can be a theme I want to graph...like wedding, birth, scripture...you get the "idea".

Often I'm inspired by something a stitcher has suggested. Maybe they've sent a phrase or a request for something specific. I keep files of these on my computer. I also get ideas from everything around me...things on Pinterest, trends in home decor, pop culture...all that.

* I decide which L*K format I will be designing for (sorry...dangling participle). If it's a small stand alone design, it's a Snippet (L*K products beginning with S). If my idea involves a series of "smalls" that relate to each other, there's a new Flip-it or Double Flip series headed your way (products beginning with F). If it's a larger design, or maybe a couple small designs with the same theme, I will market them together as a chartpak (products beginning with C). Then there are kits (K), and Boxer kits (B)...so many formats, so many designs. My goal is to provide a variety of products so everyone can choose what they like...different strokes for different folks. 

It may seem odd to decide which format I'm working in before I've even done a sketch. A design doesn't always end up in the format I originally intend. Sometimes I decide to include a bunch of embellishments and something that began as a Snippet ends up being marketed as a kit. I may decide that those little goodies are essential to the finished product, and I want everyone to have them. But I begin with a "vision" of how that design will be presented to you, and proceed with that in mind.


In the same manner, sometimes I do a new design, and everyone wants to see more of the same/similar thing. An example would be the A Little Love kit I designed several years. ago. I got lots of positive comments on the "Little" kit idea and requests for MORE, so now there are lots more "Little" kits...A Little Christmas, A Little Boo, A Little Wedding, A Little Baby, A Little Luck, A Little Beach, A Little Snow...and more (whew!) and more to come, I'm sure. Your response really is noted and appreciated.


The most recent example of an "unintended series" are our pocket/purse kits. I had so much fun with Merry Little Santa Kit (K84) in December 2015, I decided to do a series in 2016. To date, we've released Hello Spring (K86), and (hot off the press) Love Summer (K88). You can guess what's coming in a few months...a fall/Halloween pocket/purse kit...I'm looking forward to this one.


* Time for a pencil sketch! I keep a spiral notebook beside my computer and refer to it once a month...maybe...if it's not buried too deeply on my desk. In theory, it's a good place to store ideas that I will refer to later. Honestly, I forget about this notebook a lot, but sometimes it's really valuable. See scribbly notebook below.


I tend to make lists of related sayings/themes in this notebook (pic above). I know it's messy, but if you look closely you can see the original sketch I did for Gratitude Boxer (B51). The sketch is that little box in the middle of the page. Some pages have more drawings, some have more ideas/sayings.


If I'm tackling our annual Tiny Tidings holiday designs, I'm going to need 5 Christmas ideas/sayings. I always list/sketch more ideas than make it to the computer. I can flip back through the notebook the following year and those little leftovers may be just what I need.

I also may begin a new design on a scrap of paper or Post-it that lands in the trash. My sketches are getting rougher and rougher as the years go by. I used to do a nice, detailed sketch before I began graphing on my computer. Now...not so much. Just a quick idea and I'm off crazily clicking on the keyboard.

* On to the computer! I use a really old design program. It's 20 years old - the same age as L*K! So whenever anyone asks about it, I tell them to find something more current. It works for me, so I don't see a need to update/upgrade. L*K designs are quite simple, and my program already has tons of features that I don't access.


Here's my big screen, filled with the Things Unseen Mystery Sampler and the accompanying bonus projects. In the lower left corner you can see the color palette. 

The most essential things in a design program for me are the colors and the ability to move stuff around. I did my original 25 or more designs on old-fashioned graph paper, with a pencil and busy eraser. Working on a computer is SO much easier for me. If I want to move a whole tree over one space, I can just lasso it and scoot it wherever I want. I can also copy and paste motifs when I want to repeat something. It's also a snap to try out different thread colors as well as background colors.

Clicking out a new design is an acquired skill and I'm still working on it. It sure is easier to sketch curvy shapes on paper, than to create them with a series of little boxes on the computer. Just saying...there is a small amount of skill and practice involved. Clearly it helps to be "artistic".


Speaking of "artistic", before I began L*K, I worked in advertising. Back in the day, I did newspaper paste-ups. Those of you of a certain age will know what I am talking about. My younger readers will have no idea - read and learn. We manually cut and pasted (literally with hot wax) the type onto a page for newspaper reproduction. I went from paste-ups to illustrating for retail newspaper ads. I specialized in fashion, but when I worked for a discount store I drew everything...toys, blenders, rifles, cameras...anything that we didn't have manufacturer's art for. And whatever I did the day before greeted me when I opened the local paper the following morning. Here are a couple (vintage) ads I drew above. I found a huge stash of these beautifully tall, thin people when we recently moved.

Needless to say, I was working only in black and white - the 2 colors that often permanently stained my clothing those days. Adjusting to designing in color was HUGE for me, but ultimately so much more fun.

Hope this has been interesting!!
(If this is the most boring blog post you've ever read, you probably haven't made it to this point anyway.)

If you have questions or comments, please let me know!

I'll do another post soon with the next steps in the design process...hope to see you in class again for Lesson 2. 

Class dismissed...go stitch!


Thursday, March 10, 2016

Celebrating 20 years at L*K!

Another Needlework Market is under our belt (literally...these gatherings are FULL of food!). Three new L*K kits are on their way to your favorite shops and we're moving on to new stuff (see previous posts for all the info). Here's a pic of Alan and I in the hallway outside L*K showroom with our L*K 20th birthday cake, which disappeared in a flash when market opened.


Funny story...I called ahead to Sam's in Franklin, TN to order cake. I spelled Lizzie Kate about 20 times, but I still wasn't sure we were communicating (charming Southern accent vs. Kansas twang). Alan went to pick up our cake, which cheerfully proclaimed "Happy Birthday Lizzie Cape". A little scraped frosting later (it took 2 tries), but we finally got our name right. It was a close contest to see which side of the cake disappeared faster...the chocolate or the white. Chocolate won by a slice or two!

Here's a pic of our "showroom" door at Needlework Market. We use the living area of our Embassy Suite for our showroom, and turn the bedroom into our warehouse for extra inventory, orders waiting to be picked up, Alan's checkout desk, and oh yes, sleeping. It's always amusing when I direct ladies to the backroom to pay for their market orders, saying something like "Go to the back room (bedroom), and Alan will be there to take your money!".


I began L*K in March 1996 on a lark, and somehow the 20 years have slid by. Our namesake daughters, Sarah "Lizzie" and Ali "Kate" have grown up, and L*K has grown into a full time job for both Alan and I.

When I had the idea to try designing cross stitch, I scheduled some time to chat with my local shop owner, Janice. I was a loyal customer in her lovely shop, and she was a little surprised I had the design bug. We chatted about how I would sell designs, should I come up with something. I think she was more than a little doubtful about my possible future in the needlework biz.

Long story short, I worked hard for 6 months and took 20 designs to the late July Needlework Market in Charlotte, NC. I hastily named my company Lizzie*Kate (which, for the record, my Mother did not recommend). Nonetheless, she traveled with me to Charlotte and helped at my first market. Of course, her handwritten orders were the neatest.


After our first few hours at market, I knew my life was headed in a different direction. I called my husband that night and told him we were going to be BUSY!!! I spent my first day at home totalling orders...figuring out exactly how many of each chartpak I needed to print. I had printed 50 each before I left, and my best selling chart (#001 Hats Off to Halloween) had 1000+ orders. YIKES!

After a few days I picked up a car full of covers and insides at the printer. Then I wheeled a grocery cart FULL of photos from the grocery photo lab. We began collating charts, gluing on photos and sacking, with the help of our family and some neighborhood kids. I know...child labor...but I contributed to their "clubhouse" fund and fed them.

A few years after we began...miss you Lucky dog

We would do assembly all day, then Alan and I would pack orders all evening. Then start again the next day. The most unexpected part, though, were the orders flowing in the very day we arrived home from market. Even without the internet, somehow the word was spreading and the order pile was getting larger. Thank goodness I was 20 years younger and could burn the candle at both ends and still function.

Blah, blah, blah...don't want to to bore all of you faithful readers...but it's been a fun ride for 20 years!

I've been trying to think how to celebrate. With that in mind, I have some fun projects coming your way soon. Here are a couple things to look for in 2016.

* New Double Flip series - yet unnamed - but we had sneak peeks at market. I decided to do another monthly series, because it's been a LONG time. I'm feeling very nostalgic, so am using the same 12 charms I used on our original Year with Charm Flip-it series (F1-F12). It was a fun design challenge and I'm super excited about this series...really!  I'm also using a little L*K motif each month that has previously appeared in another L*K design. See if you can recognize them, and where they originally appeared...hide and seek in stitches. Coming in April.

* Halloween Mystery Sampler - also unnamed - but in progress! I just started designing this 2 days ago, and I can hardly pull myself away from the computer, or sleep. I hope to have it ready for you this summer. The mystery will unfold in 3 parts, and we'll have fabric, threads, and embellishment packs available, along with the charts. Mysteries are so much fun for us, and I'm loving this one! My house is full of bunnies and eggs, but my brain is full of pumpkins, bats and cats.

* L*K Website Facelift - I know, I know. Our site has looked the same forever. We update it regularly, but it needs some cosmetic work. I'm crafting a new look with my graphic designer pal, Janice. Then we'll work with our webmaster, Mary, to make it happen. Can't wait to show you a new, improved L*K. Don't know when...this project always gets set aside for new releases.

* Design 101 Blog Series - I'm always getting questions about my design process, so I want to share some tips on "cross stitch design how-to". Or at least, how I do new designs. I know from reading designer profiles in magazines that everyone approaches the design process differently. I'll share a few things that work for me, and challenge you to DIY...or at least appreciate what goes on behind the scenes at L*K.

Ready to celebrate with us???